Pilots use pre-flight checklists — RVers should too
Following a simple checklist will ensure you and your RV arrive safely to your campsite
Pilots use checklists before take-off and you should too. There are a number of things to be done, closed down, shut up, shut off, locked and checked before moving your trailer from the parking lot or campsite.
In The Checklist Manifesto: How to Get Things Right, Atul Gawande makes a strong case for simple checklists. He shares horror stories of forceps and sponges left in patients after surgical procedures are completed. The World Health Organization recommends a simple list to be followed for surgical procedures to prevent risk from simple errors. And you should follow your own RV take-off list before pulling your rig into traffic.
Failure to complete every step correctly can result in anything from embarrassment to catastrophe and even loss of life. This is serious stuff, but following a simple checklist consistently can prevent mishaps. Over the years Kathy, my wife, and I have carved up our duties on take-off and landing.
Here are the lists we follow:
First time out for the season:
1. Check tire pressure and torque the wheel nuts to factory specification.
2. Fill propane tanks.
3. Top up battery cells with distilled water, if required, and recharge batteries.
4. Re-install batteries, assuming they were stored separately for the off-season.
5. Flush food-safe antifreeze from water lines.
6. Flush fresh water tank.
7. Install plug and sacrificial bar and fill hot water tank.
8. Stock the trailer: aluminum foil, toilet paper, paper towel, facial tissue, fire starter, etc. This is when we add all of the pantry items for the camping season from disposable plates to dishwashing detergent and olive oil to pancake mix. I check the lamp oil, cookstove fuel, toilet chemical, bug spray, pot scrubbers and disposable gloves too.
9. Fill fresh water tanks.
10. Add blackwater chemical (ensure both tanks valves are closed; you will only miss this once).
Before take-off:
1. Check wheel chocks to make sure they are in place.
2. Shut off the water pump.
3. Shut off the water heater.
4. Shut off power source (flip the breaker at plug-in site) and turn off heavy electrical draw appliances (e.g., air conditioning).
5. Unplug power cord and stow.
6. Raise window coverings.
7. Close propane tanks valves.
8. Switch fridge to electric (battery) power for travel.
9. Secure anything inside that requires securing.
10. Raise trailer hitch to clear ball on tow vehicle or align and lower fifth-wheel to connect.
11. Retract stairs, awning and stair handle.
12. Back tow vehicle up and align ball and hitch.
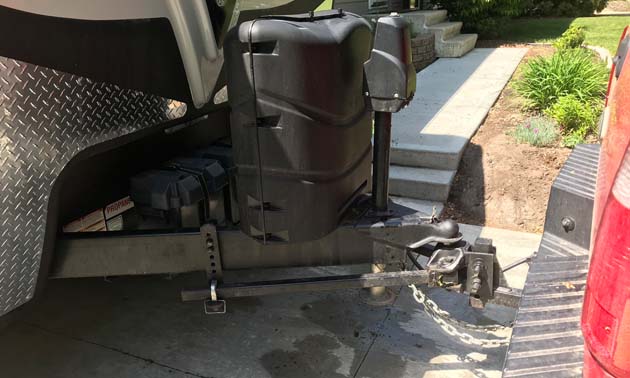
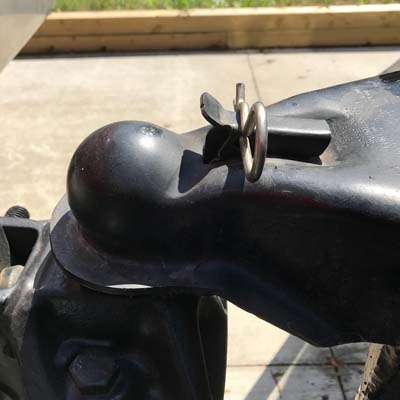
13. Lower hitch on ball and lock in place––this one is absolutely critical as your trailer can get loose if not locked properly.
14. Install load levelers, if required.
15. Connect five-pin signal light and charge cord trailer to vehicle.
16. Connect safety chains in a crisscross to “catch” the hitch if the ball and hitch disconnect.
17. Clip break-free safety brake cable to tow vehicle.
18. Check running, signal and brake lights.
19. Un-chock wheels, stow the wheel chocks and pull away.
On landing:
1. Safely back in or park unit on level ground or block wheels to make level.
2. Chock wheels.
3. Test for levelness side to side and adjust as required.
4. Unhook power cord, break-away cable and safety chains.
5. Unlatch trailer, elevate hitch and pull away tow vehicle.
6. Level front to back.
7. Open propane tank valves.
8. Switch fridge to propane (unless you have power).
9. Turn on water heater.
10. Fill ice cube tray (you will need those later).
11. Set out the ground mat and extend the awning. If you like, set up a couple of chairs and congratulate yourself.
You would think that after 20 twenty years of hooking and unhooking, setting up and tearing down, one would have the process locked into a rhythm with confidence. But I still stop every now and then to make sure I did what I was supposed to do.
The truth is even after hundreds of trips, I still go through the checklist. You should too.


