Take the night off and use the broiler for nachos
The gas burner in the bottom of your RV oven makes sizzling nachos
Did you know your RV oven has a broiler? On a recent camping trip, friends were surprised to discover their oven had a broiler. Under the burner that heats your oven is a small space where you can slide a cookie sheet or foil pan under the blue flame to broil anything from lobster tails to grilled cheese.
Broil up a treat while camping
Turn the oven dial full-on to broil after lighting the oven burner. The solid blue flame will provide the intense heat to broil. The broiler is a great option when it’s raining or snowing outside, and you want something seared with near-glowing heat.
It works perfectly for something like nachos.
I pride myself on making things from scratch––my own homemade soups from stock made from simmering roasted bones and vegetables, regular sourdough bake, annual jams and jellies, and twice-yearly sausage stuffing. But sometimes I just want it easy like a mac-and-cheese dinner made to the exact instructions on the box. Nachos are one of those simple things, especially when you make it with ready-to-serve ingredients.
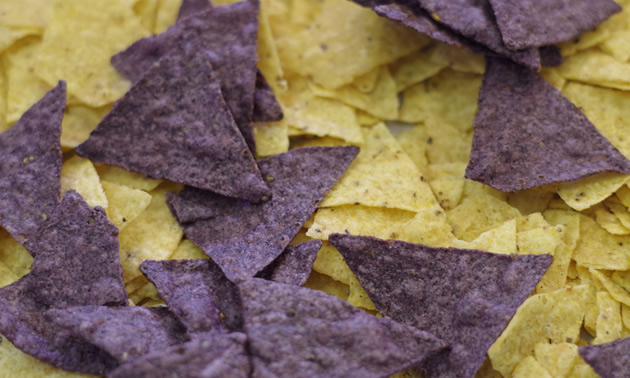
Nachos were a family hit
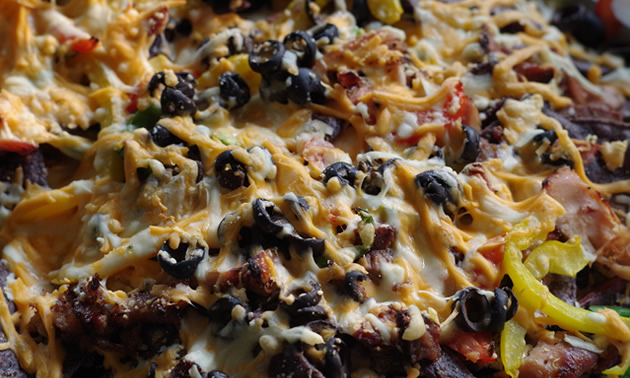
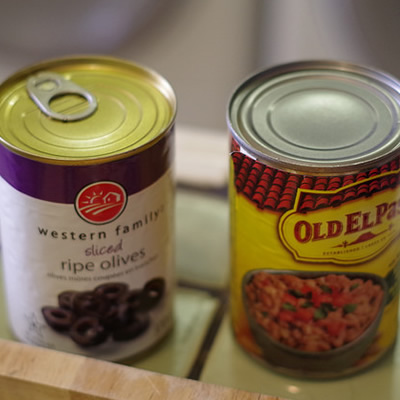
I recently whistled up a batch of nachos for a family camping trip, buying cans of jalapeno peppers, salsa, refried beans and sliced black olives. I even purchased shredded cheese—the Tex-Mex variety—and picked up containers of guacamole and sour cream. I opened bags of nachos chips, distributed the contents of several tins of our favourite nacho toppings, covered it all in cheese, warmed the refried beans for dip and set out sour cream, salsa and guacamole. The family consumed the works with continual expressed pleasure.
We failed to find a suitable skinny pan to fit under the RV oven broiler, so we fashioned one out of a triple layer of heavy-duty aluminum foil, folding and mitring the corners so they were a reasonable facsimile of a pan that fit under the broiler perfectly.
If you haven’t used your RV oven broiler, take the night off from campfire cooking and whistle up some nachos.
Here’s how:
Tools and equipment
- Oven broiler
- An aluminum pan that fits perfectly in the oven (or fashion one out of three layers of heavy-duty aluminum foil)
- Cutting board or similar base to slide the pan onto once out of the oven
Ingredients
- 2-pound (908-gram) bag tortilla chips
- 7-ounce (200-ml) tin sliced black olives, drained
- 6-ounce (191-ml) tin sliced jalapenos, drained
- 13-ounce (398-ml) tin black beans, rinsed and drained
- 13-ounce (398-ml) tin refried beans
- 17-ounce (500-gram) container sour cream
- 17-ounce (500-gram) container guacamole
- 11 ounces (320 grams) shredded cheese (I used shredded packaged Tex-Mex blend but any blend of cheddar, mozzarella or Monterey Jack will work just fine.)
- 4 green onions, chopped (optional)
- 14-ounce (418-ml) jar hot salsa
Method
1. Prepare a foil pan using a triple layer of heavy-duty aluminum foil.
2. Spread the contents of a bag of nachos over the pan.
3. Top nacho chips with black olives, jalapeno peppers and black beans.
4. Empty the bag of shredded Tex-Mex cheese on top.
5. Add chopped green onions and anything else you would like to enhance your nachos.
6. Place in broiler until the cheese bubbles and the peaks of the chips start to turn light brown––about seven minutes.
7. Heat refried beans on stovetop until hot.
8. Serve with salsa, sour cream, guacamole and heated refried beans.
The kids found some smoked chicken and pork ribs left over from the previous day, removed the bones and diced the meat. That addition kicked the whole deal up to another level.
Sometimes we make things hard for ourselves. This plate of nachos was like taking the night off and was thoroughly enjoyed by the entire crew. The broiler in your RV oven is made for nachos.


